Whenever we come across using 1 watt LEDs or other higher watt LEDs, we are always advised to use high grade aluminum based heatsinks for safeguarding the LEDs from heat, and for acquiring optimal performance from them.
Double Side PCB can be Costly
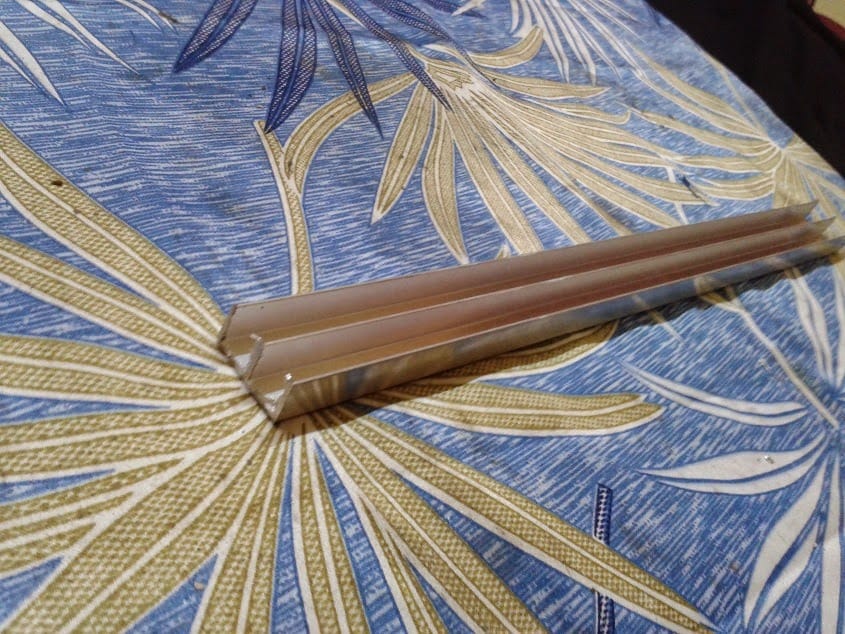
However as we all know such PCBs are highly costly and could be beyond the reach of new hobbyists. Using an ordinary aluminum strip as heatsink instead of a PCB looks to be an easy way out, I have explained more.
1 Watt, 350 mA type of white LEDs have gotten immensely popular nowadays and these are fundamentally being used for all types of high watt LED light applications.
These LEDs have become particularly useful since these can be discretely configured for making right from the basic 1 watt LED lamp to massive 1000 watt LED flood light systems simply by adding the relevant number of LEDs on the panel.
Although everything looks pretty decent and simple with the construction of such high efficiency lights using these devices, the extreme amount of heat involved becomes the major hurdle, especially when it's tried by a ordinary hobbyist.
This issue calls for employing an appropriately dimensioned heatsink with these LEDs, however since these LEDs are small and have no screwing feature available, attaching heatsink directly with them becomes impossible, and incorporating aluminum based heatsink becomes the only option in hand.
Aluminum back based PCB heatsinks are extremely sophisticated PCBs which require hi-end manufacturing process and therefore are very costly, moreover designing the PCB layout as per ones requirement makes the process even more expensive.
PCB cab be Avoided
However these PCBa can be simply avoided by employing a simple technique as explained in the following section:
With high watt LEds the only issues are: to enable quick dissipation of the heat from the LED into the air and to find an appropriate solution for attaching the LEDs over an aluminum plate without shorting them across through the plate.
One method is to paint the aluminum with a thick layer of good quality oil paint (white) over the area where the LED needs to aligned and stuff the LEDs as per the series/parallel layout directly over the wet paint, and allow the assembly to dry up completely.
How to Stick the LEDs on Aluminum Strip
Pressing the LEDs hard over the wet paint will almost produce a direct contact of the LEDs with the aluminum surface.
The application of paint is just to allow a temporary grip of the LEDs over the plate. Once the paint dries up the LEDs should be reinforced with epoxy glue so that the grip become firmer.
You may scratch the area slightly over the aluminum so that the glue "bites" into surface and produces a good grip over the entire assembly.
After this the LEDs could be wired by soldering small pieces of copper leads to form the intended circuitry. The underlying paint would act like an insulation and prevent shorting of the leads with the bottom aluminum.
Reinforcing with Epoxy Glue
Finally the whole assembly could be further reinforced with epoxy glue since the paint adhesion could be insufficient to hold the LEDs in place forever.
Alternatively, epoxy glue may be directly used for fixing the LEDs over the aluminum plate, and wire up the LED terminals as per the correct layout orientation after the epoxy is hardened.
However in this case care should taken to keep the LED leads lifted well above the aluminum base, or for better safety small bits of plastic or card paper could be stuffed between the existing fine gaps.
The above discussed methods of using using an aluminum plate as heatsink for assembling 1 watt led modules could be in fact much more effective than using the recommended aluminum based PCB due to the involved direct contact with the actual base aluminum plate, resulting in an efficient heat dissipation.
Preferably a thin gauged plate should be selected, because thinner material will allow quicker extraction and dissipation of the heat.
Using a Current Limiter
Even though the above procedures could look quick and effective, it is strictly recommended to have a current limiter circuit added in between the the power supply and the LEDs as discussed in the this article.
Also please remember to add resistors between each LED string for ensuring uniform distribution of current across the channels.
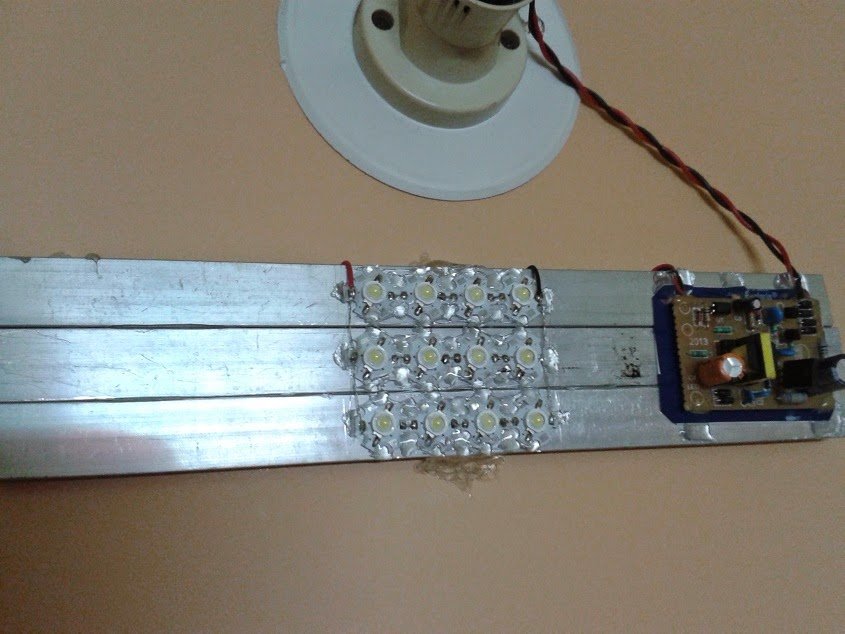
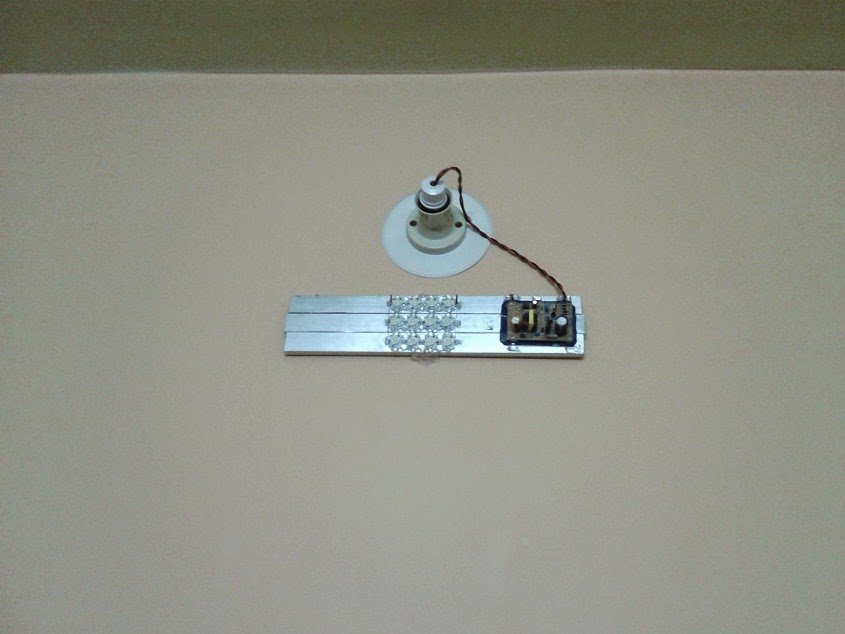
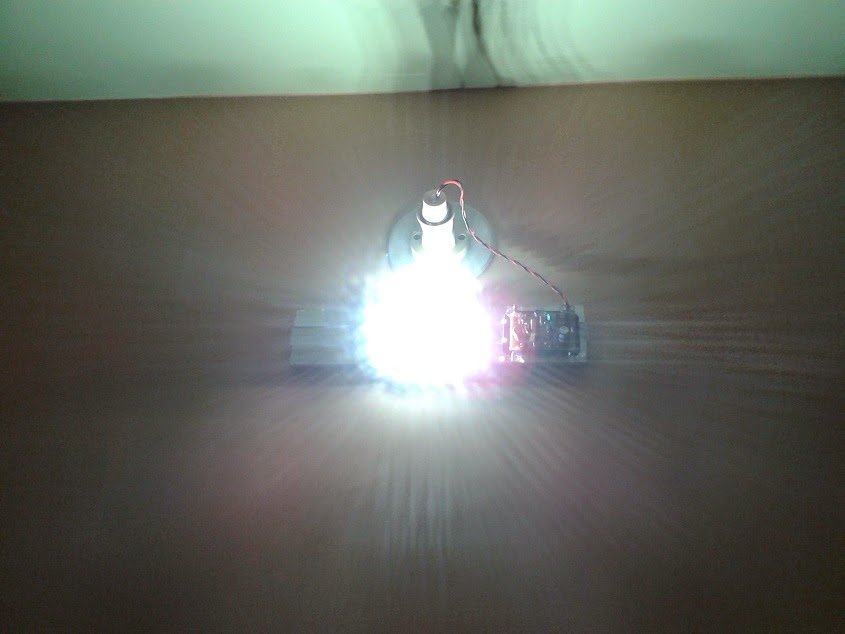
The following picture shows a classic example of using an ordinary aluminum plate as heatsink for a group high watt LED assembly for making an LED tubelight.
Image courtesy: Debabrata Mandal
Some Important Suggestions by Mr.Debabrata
- Heat sink compound has been applied between led & its heat sink
- Heat sink compound has been applied between led-heat-sink & aluminium frame
- To stick multiple strips together, there's again 2 methods... epoxy between 2 strips & then heating them together... dendrite between them & sudden heating then sudden cooling & then overnight stay... I made 2 frames like this & both seem strong
- Not to paint the frame cause... 1. Paint doesn't technically ‘stick’ to aluminium, nothing does, except its own oxide... 2. Will hugely decrease aluminium’s heat radiating capacity cause paint is a very bad conductor of heat
Analyzing How to Stick or attach 1 Watt LEDs on Aluminum Plate Heatsink
The only legit way of fixing the LEDs on the plate is by first applying a layer of paint on the aluminum and before it dries attach the LEDs firmly with the required orientation and allow the assembly to dry completely.
A thin layer of paint will be hardly a few microns thick, and will not restrict the LED heat from getting absorbed by the aluminum, so it's fine. In fact the paint will ensure a tight contact of the LED base with the aluminum.
Recall, for transistors we normally use a mica isolator while mounting them on heatsink, and that does not restrict the heat from the transistor to the heatsink, although mica is a complete non-conductor of heat.
The paint stick is just temporary, for further strengthening you can put some feviquick glue (acrabond) around the LED bases for fixing the LEDs permanently, and finally join the series with wire links.
In fact, an acrabond glue can be directly used instead of paint for fixing the LEDs on the lauminum plate.
We are using the gluing option for some reason, just imagine how uncomfortable, messy, unaligned, and time consuming it can be if you try to install the LED assembly without a prior fixing arrangement of the LEDs on the base plate.


Questions & Answers
Bottom of the LED is isolated and neutral, it's neither positive nor negative…it can be attached with the heatsink without any issues.
Ok thanx sir
Sir which type of color I can use like oil based paint or some other
use white oil paint, press the LEDs firmly so that most of the paint below the LEd is displaced and there's maximum contact with the aluminum
Sir can u pls explain that how to solder 1watt led on aluminium frame without star heat sink
Basit, one way of doing it is by first applying a thick layer of paint on the aluminum and before it dries attach the LEDs firmly with the required orientation and allow the assembly to dry completely.
after for further strength you can put some feviquick on the LED bases, and finally join the series with wire links.
What about the circuit?Can i made this or this is a ready-made circuit..
any circuit diagram with transformer information..,Or any alternate circuit?
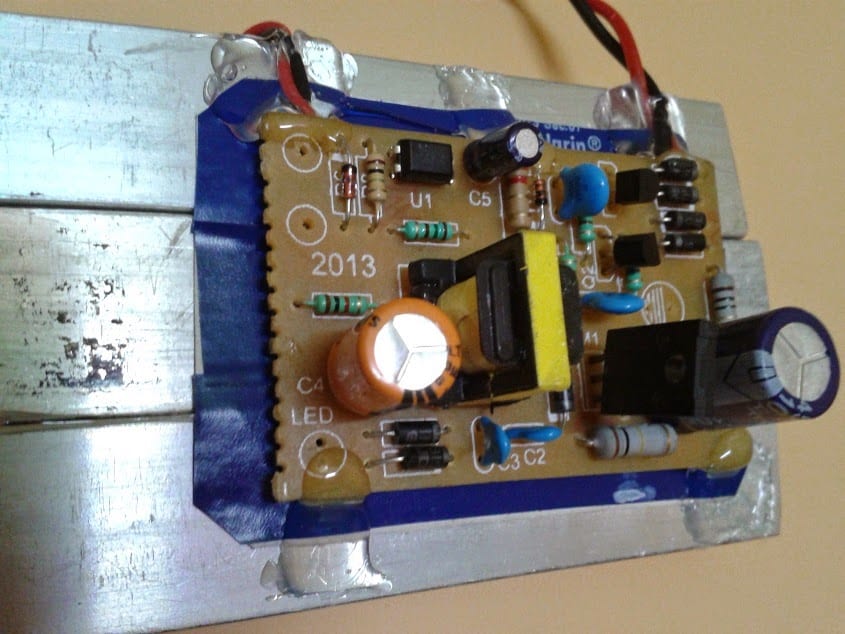
the shown SMPS is the voltage supply unit for the LEDs, for limiting current you may try a LM338 circuit in between the LED and the SMPS, as explained here:
https://www.homemade-circuits.com/2013/06/universal-high-watt-led-current-limiter.html
its a current liniter circuit only may i get the actual circuit for that LED driver…
you can refer to the following article for the circuit details:
https://www.homemade-circuits.com/2013/06/universal-high-watt-led-current-limiter.html
Dear Swagatam, I am a fan of your site.Thank you for sharing this tropic.
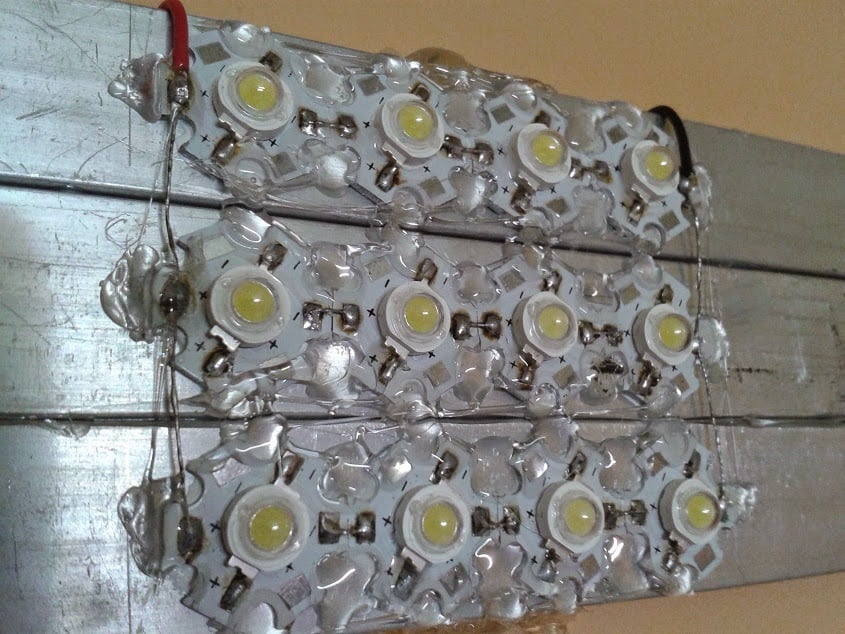
In the pictures of Mr.Debabrata Mandal, it seems that star heat-sinks are used and the LEDs with heat-sinks are fixed with the aluminum frames.
But the star heat-sinks are not required if the LEDs are directly fixed with aluminum frame after bending the terminals of the LEDs upwords as they do not contact with the aluminum sheet. I have used "FEVICOL SH" ( synthetic resin adhesive) @1 drop per LED for fixing LEDs and it is working very good since 7 months.
I won't say effective, but just about enough to keep the LEDs from getting over heated and damaged…..by the way fevicol is not recommended, acrabond kind of glue would be more reasonable.
Would there be effective heat sink if you are using Fevicol SH to fix the LED to aluminium?
Dear Srnath, thanks very much!
Yes you are right, in fact any 1 watt LED LEd can be used here, the LEDs which are without any attached heatsink will suit better in the above explained application.
Good job bro…
Thanks for sharing….. heat sinks made simple than ever…
for 1w Led that base thing which ur giving elect contacts are present for every 1w? like aluminium plate ?
i have seen in net some 1w without those with only led( without base) are these avail like that?
Thanks Rohith,
You should use a haetsink for all types of 1 watt LEDs, because a heatsink is mandatory for all such high watt LEDs