The strain gauge is one of the most useful tools for precisely measuring expansion or contraction of a material as forces are applied. Strain gauges are also useful for measuring applied forces indirectly if they are aligned approximately linearly with the deformation of the material.
What are Strain Gauges
Strain gauges are sensors whose electrical resistance varies in proportion to the amount of strain (deformation of a material).
An ideal strain gauge would change its resistance in proportion to the longitudinal strain on the surface to which the sensor is attached.
However, there are other factors that can affect resistance, such as temperature, material properties, and the adhesive that bonds the gauge to the material.
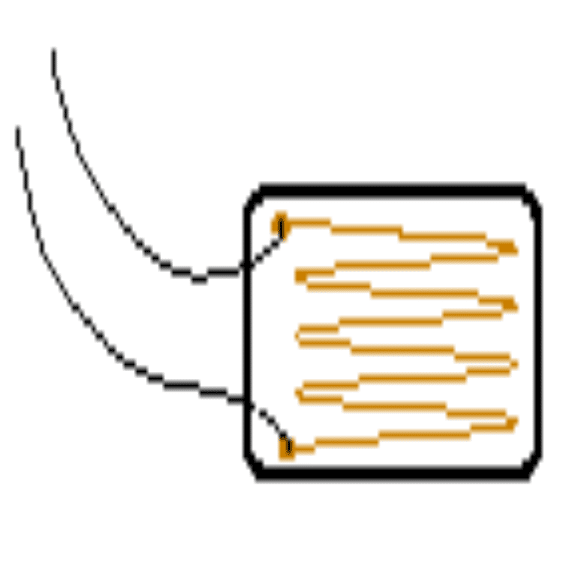
A strain gauge consists of a parallel grid of very fine metallic wire or foil bonded to the strained surface by a thin insulated layer of epoxy. When the bonded material is strained, the strain is transmitted through the adhesive. The grid shape is designed in a pattern that provides maximum resistance change per unit area.
How to Select Strain Gauge
When selecting a strain gauge for an application, the three main considerations are operating temperature, the nature of the strain to be detected, and stability requirements.
As a strain gauge is mounted to a strained surface, it is important that the gauge is strained equally with the surface. The adhesive material should be selected carefully to transmit the strain to the sensor reliably over a wide temperature range and other conditions.
A strain gauge’s resistance value varies as a function of the applied strain according to:change in R/R = S ewhere R is the resistance, e is the strain, and S is the strain sensitivity factor. For metallic foil gauges, the strain sensitivity factor is about 2.
The increments of strain are usually less than 0.005 inch/inch and are often expressed in micro-strain units. From the formula, it is seen that the strain gauge's resistance will change in very small amounts with the given strain, in the order of 0.1%.
A voltage reading can then be taken off this resistor in terms of milli-volts per volt (mV/V) to provide the measurement value for strain.
The Poisson Ratio is a measure of the thinning and elongation that occurs in material as it is strained. If a tensile force is applied to a resistive wire for example, the wire would become slightly longer, and the same time become thinner. This ratio of these two strains is the Poisson Ratio.
This is the basic principle behind strain gauge measurements, as the wire resistance would proportionally increase due to the Poisson effect.
How to Measure Strain Gauge Output Accurately
To accurately measure a small change in resistance, strain gauges are almost always found in a bridge configuration with a voltage excitation source.
The Wheatstone bridge is commonly used as shown in the diagram. The bridge is balanced when the resistor ratios are equal on both sides, or R1/R2 = R4/R3. Evidently, the output voltage is zero under this condition.

As the strain gauge resistance (Rg) changes, the output voltage (Vout) changes by a few milliVolts, and this voltage is then amplified by a differential amplifier to return a readable value.
This Wheatstone circuit is also well suited for temperature compensation - it can almost eliminate the effects of temperature. Sometimes the gauge material is designed to compensate for thermal expansion, but this does not totally remove the thermal sensitivity.
To achieve better thermal compensation, a resistor such as R3 could be replaced by a similar strain gauge. This would tend to nullify temperature effects.
In fact, all four resistors could be replaced by strain gauge sensors for maximum temperature stability. Two of them (R1 and R3) could be set up to measure compression, while the other two (R2 and R4) are set up to measure tension.
Not only will this compensate for temperature, but it also increases the sensitivity by a factor of four.Strain gauges with electric resistance elements are by far the most common type of sensor for measuring strain, as they possess the advantages of lower cost, as well as being well-established.
They are available in small sizes and are only moderately affected by temperature changes, simultaneously achieving error of less than +/-0.10%. Bonded resistance strain gauges are also highly sensitive, and can be used to measure both static and dynamic strain.
However, there are other types available for certain applications, such as piezo-resistive, carbon-resistive, semi-conductive, acoustic, optical, and inductive.
There are even strain gauge sensors based on a capacitor circuit..


Comments
Hi
I am shailesh i m from Ratlam (India) , i know basic to advance knowledge of foil strain gauge making process i am currently work on 1000 Ohm strain gauge foil please send details information for strain gauge making process.
Hi, sorry, presently I do not have the information requested by you.