In this article I have explained how to build a very simple, low cost LED lamp with charger. This unit can be used by any street seller, vendor, hawker, to illuminate his shop during night. Thus, the light will ensure that the seller can continue to do business even after dusk to enhance his profits.

No Electricity means no Business
In many Asian countries like India you will find streets, and pavements crowded with vendors, hawkers and shopkeepers selling many different items.
During daytime businesses owned by these vendors have no problems and they have great time selling their goods. However, for many such vendors and hawkers, selling their products after dusk becomes a great problem.
The problem arises due to the lack of access to electricity. No access to electricity means they cannot do business during night.
Getting access to utility electricity requires some paper work and paying monthly bills which can be difficult for many poor street sellers. Moreover, getting electricity from a utility source would mean the vendor cannot relocate his business and try other more effective locations.
However, today with the advent of cheap and efficient LED bulbs and batteries, getting access to a bright portable lamps is not an issue anymore.
How to Configure a Cheap LED Lamp
A street vendor will obviously be a complete laymen in terms of understanding electronic concepts.
Therefore, expecting them to build an electronic circuit is out of question.
This means, the only option for these vendors and sellers is to buy the relevant units ready-made and then simply configure the units at home.
Materials Needed for Making a Vendor Street Lamp
Just 3 parameters are required to configure a vendor LED lamp in minutes. These are as follows:
- 12 watt LED Lamp
- 14 V 1 amp, or 1.5 Amp or 2 Amp SMPS
- 12V 7 Ah SMF Lead Acid Battery
Once the above units are purchased, assembling them is just about wiring the relevant parameters as discussed below.
The 14 V SMPS can be used for charging the battery during day time so that it is almost fully charged until evening.
Next, during night time the LED module can be connected to the battery for illumination the desired area.
A 12 watt LED lamp can easily illuminate a 5 x 5 feet space with extreme brightness. For this, the LED lamp must be hung at least a meter above the goods being sold.
Now, let's discuss in details the materials needed for making the vendor LED lamp.
14 V 1 Amp. 1.5 Amp, 2 Amp SMPS
A 14 V DC power supply is specifically required for making a vendor LED lamp so that it can charge a 12 V lead acid battery optimally.
The above power supply can be rated at 1 amp, 1.5 amp or 2 amp, but anything above this is not recommended for charging a 12 V 7 Ah battery.
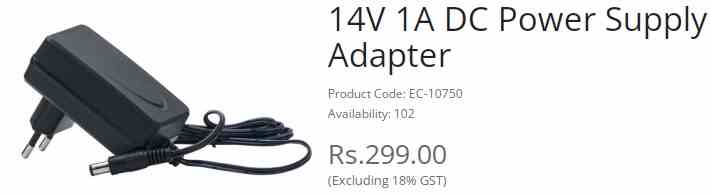
These SMPS adapters can be easily procured from any online store by searching the phrase, "14 V 1 amp DC power supply" on Google.
A 1 amp unit will take around 10 hours to charge a 12 V 7 Ah battery almost fully. A 1.5 amp will take around 8 hours and a 2 amp adapter will finish the charging within 6 hours.
The perfect full charge level of a 12 V lead acid battery is around 14.3 V. However, at this level, the supply needs to be cut-off so that the battery is not over charged and damaged.
Since our 14 V SMPS charger is slightly below the 14. 3 V mark, a cut-off system can be avoided. This implies that the charger can be left connected with the battery for long periods of time without concerns.
However, charging up to 14 V could leave the battery charged up to 70% only.
At 70% the battery may appear slightly undercharged, nevertheless it might still provide an optimal 7 hours backup. And moreover keeping a lead acid battery slightly undercharged can help to extend its overall life and capacity.
Calculating the Backup Time
The backup time of a new 12 V 7 Ah battery can be calculated as follows:
The 7 Ah refers to a capacity which will produce approximately an hour of backup time if the battery is discharged with a load of 7 amp.
However, discharging a lead acid battery above 1/10th of the Ah capacity is not recommended.
Therefore, discharging the battery at around 1/10th rate, meaning with a load consuming around 1 amp current will produce a backup time of 10 hours.
Deducting the inherent losses, we can assume an effective backup time of around 8 hours.
12 V 7 Ah Battery
The recommended battery for a 12 watt vendor LED lamp is a 12 V 7 Ah sealed maintenance free (SMF) battery as shown below:
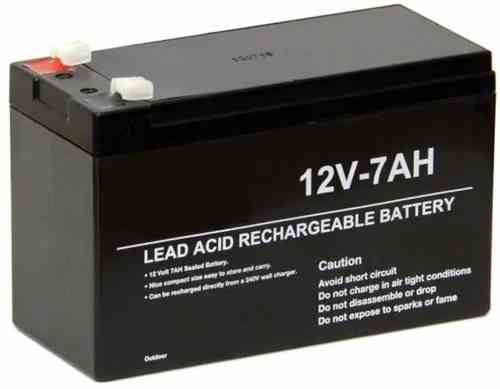
It can be charged with a 14 V SMPS adapter power supply for around 8 to 10 hours. This should enable backup time of around 7 hours for a 12 watt LED lamp.
The power output of the LED module or LED bulb can be anywhere between 9 watts and 15 watts. The 12 watt spec is not critical. However, lower power bulbs will generate higher backup time with lower illumination, and vice versa.
12 V 12 Watt LED Bulb
Now, the most critical component of the vendor LED lamp is the LED bulb itself. The specifications of this LED bulb is as given below:

Bulb Holder, Wire, Connectors
We will need a bulb holder, wire, plug and sockets to complete the wiring assembly of the vendor street lamp. The wiring details are as shown below:
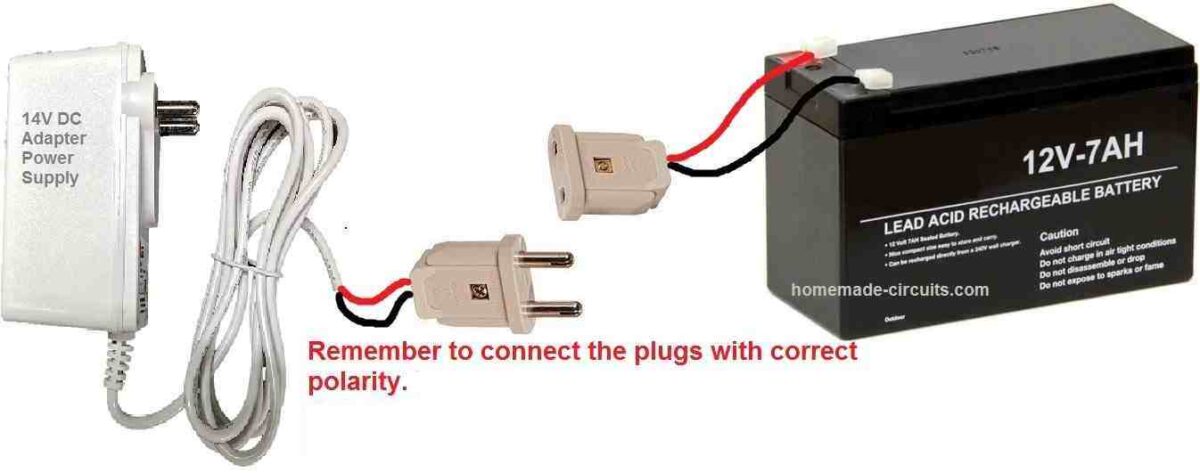
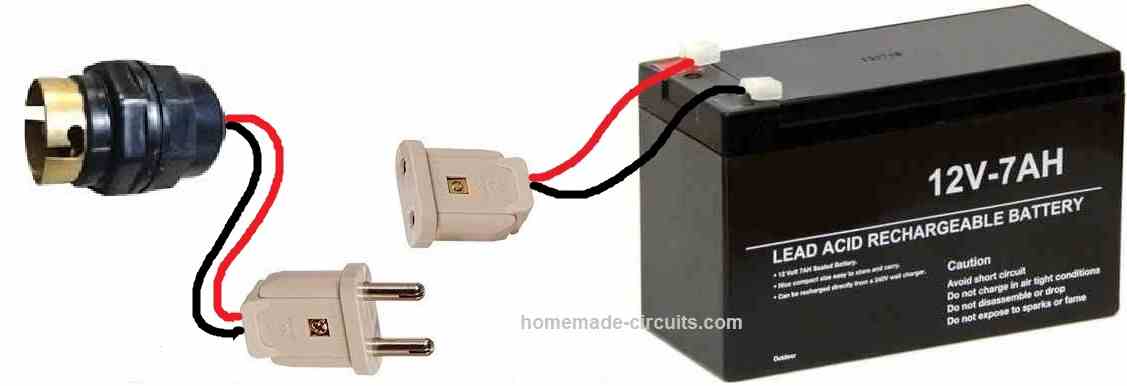
As shown in the above images, the connections between the battery and the power supply and between the LED bulb and battery is done using 2-pin plug and socket.
Be extremely careful while connecting the power with the battery and make sure it is always with the correct battery polarity.
Conclusion
Once the above wiring is completed, the construction of the vendor, shopkeeper LED lamp is complete. Now, you can efficiently use the setup to charge your battery from mans grid during daytime and use the charged battery to illuminate the LED lamp during night time.
The above explained vendor LED lamp is perhaps the cheapest option which can be implemented most effectively for the application.


Need Help? Please Leave a Comment! We value your input—Kindly keep it relevant to the above topic!